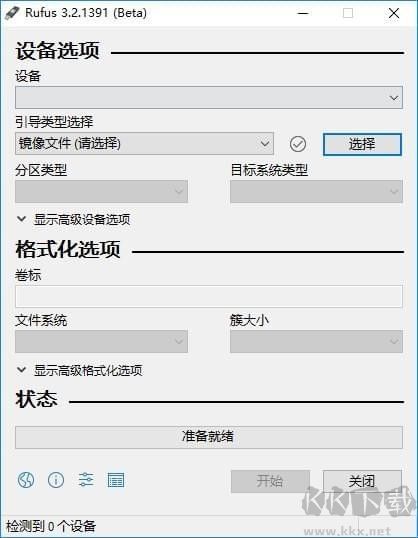
Rufus使用教程
插大容量U盘到电脑,打开Rufus,在“设备”的下拉菜单中选择插入的U盘;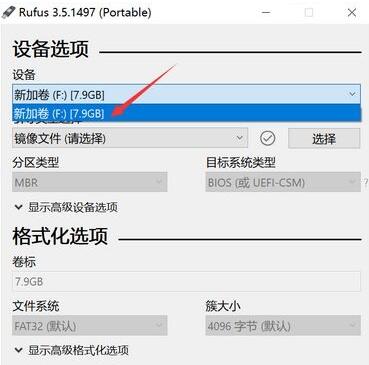
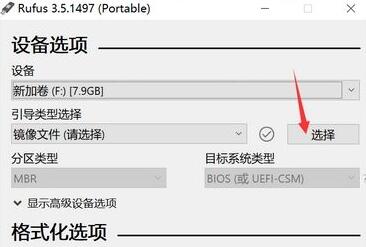
引导类型选择这边,需要先选择镜像,点击右侧的“选择”按钮;
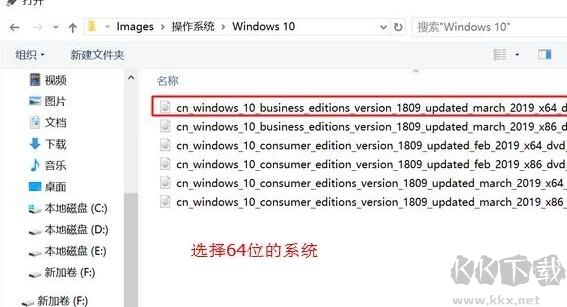
要制作uefi启动盘,需要选择64位win10镜像,点击打开;
选择你下载好的windows光盘镜像文件,选择好安装镜像后,分区类型是GPT,目标系统类型是UEFI(非CSM),另外程序会自动配置其他选项,不需要修改,直接点击底部的“开始”把安装光盘刻录到你的U盘上。
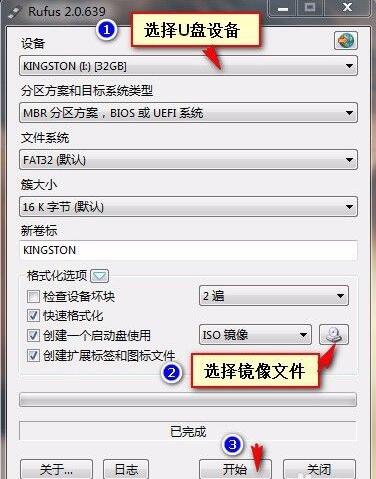
在弹出的格式化警告窗口中点确定;
弹出“关于Secure Boot的重要提示”,可以直接点“关闭”,至此,rufus制作usb启动盘过程结束。
以上便是KK下载给大家分享介绍的Rufus使用教程,希望可以帮助有需要制作U盘启动的朋友!